How to Create a Subscription Form in a Page
Home – Work with me – Blog – CoachLeads Tutorial – How to Create a Subscription Form in a Page
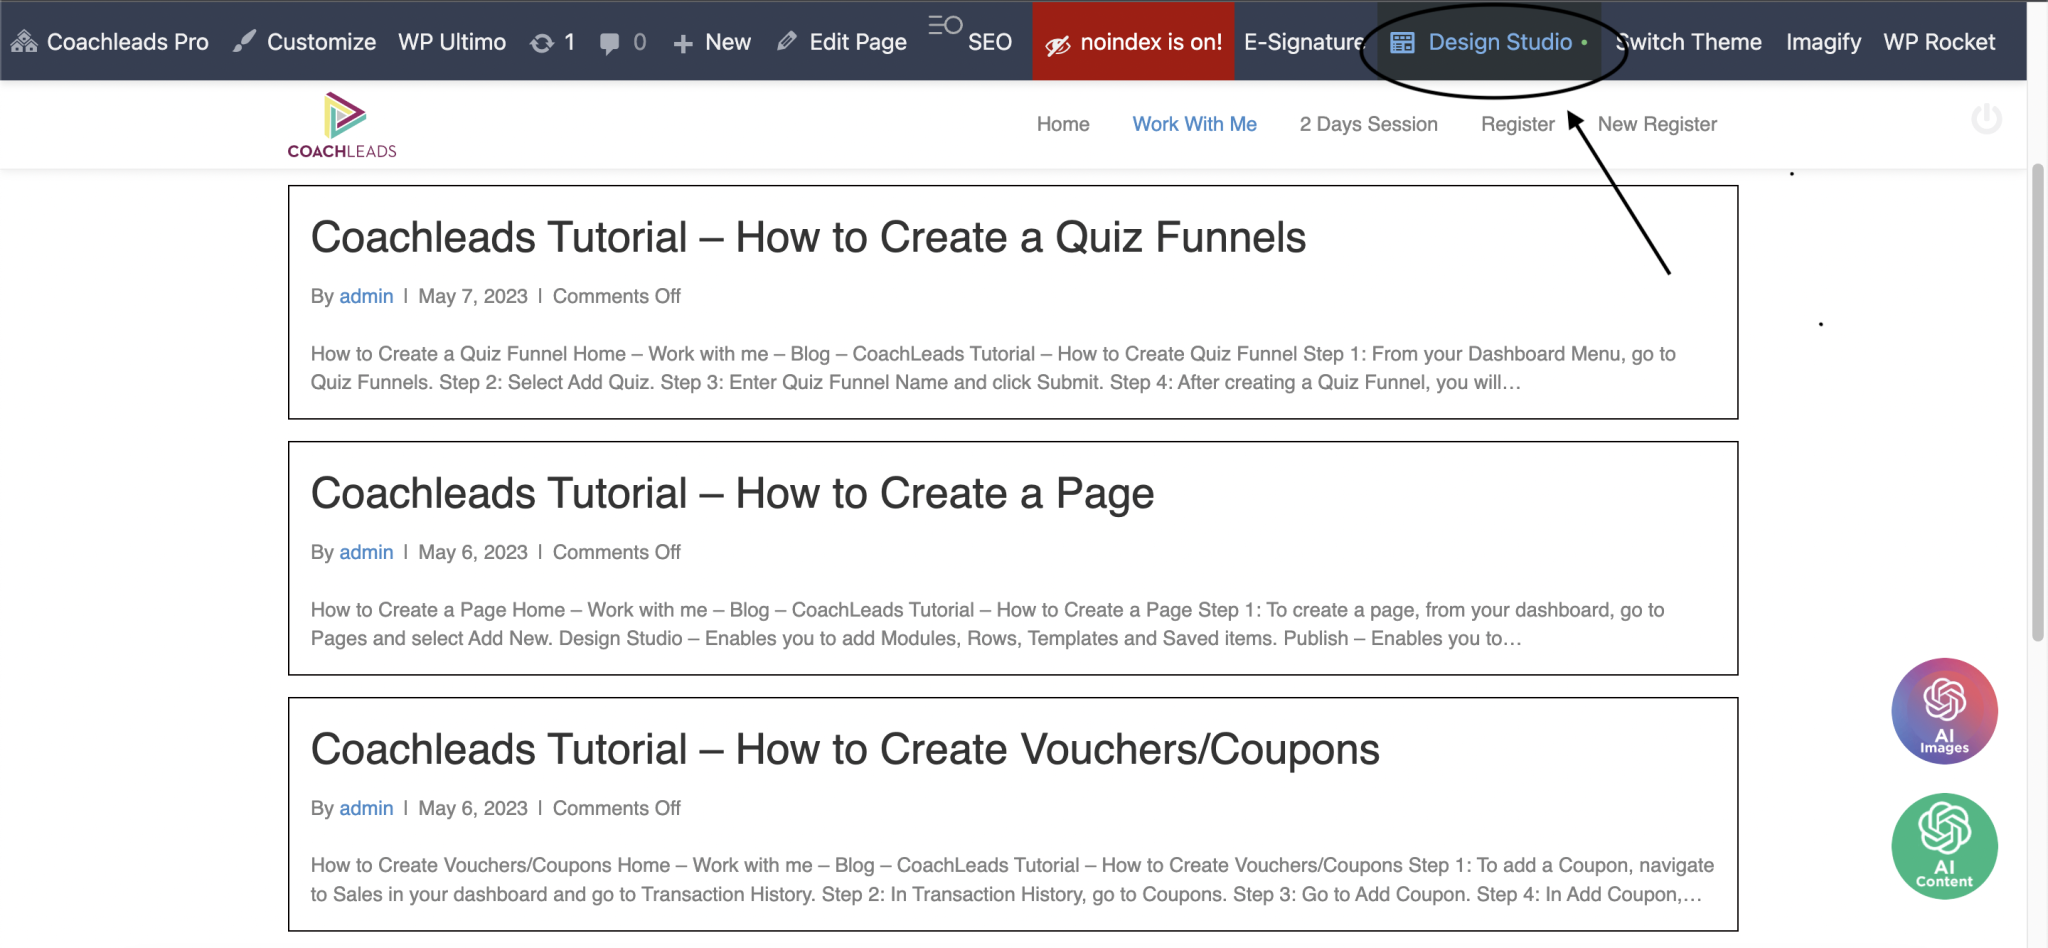
Step 1: To create your Subscription Form on any page, simply click on the Design Studio menu in the page’s upper-right corner.
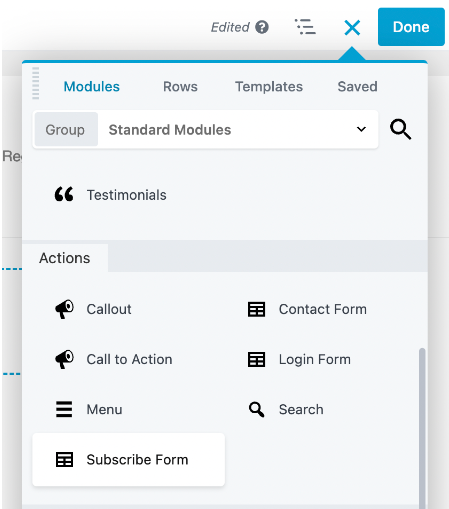
Step 2: After selecting the Design Studio menu, navigate to the upper portion of the screen and select the button with the Blue Cross symbol (+). After clicking, choose Subscribe Form in the Modules tab’s Actions group.

Step 3: Press and hold the mouse right click button on the Subscribe Form virtual object and Drag it to the page location where that you want to place your Subscribe Form. After locating the page location where you want to place your Subscribe Form, simply release the mouse right click button to position the final location of your Subscribe Form.

Step 4: After placing the Subscription Form Module in your page, you can now edit its element, design and settings:
General
- Service – Enables you to select a type of email service that you want to incorporate with your subscription form.
- Note: By default, we use Coach Mail. But if you do have a third party subscription form service, you can add them and set their Account Name, Host, API ID, API Key and Token.
- Account – Enables you to select or add an email account from the type of email service that you want to incorporate with your subscription form.
- Structure – Enables you to add and edit the structural subscription form design and layout, name, name field, email field and terms and conditions.
- Success – Enables you to add a notification subject, success action and notification message each time a user successfully submits their name and email address to the subscription form.
Button – Enables you to edit the button text name, icon, style, text, background and border.
Captcha – Enables you add a Register keys for your website at the Google Admin Console and you need a different key pair for each reCAPTCHA validation type. It also enables you to show or hide reCaptcha field, validation type of the captcha, set it’s site keys and secret keys and also choose what kind of theme.
Advance – Enables you to set the testimonials module Spacing, Visibility, Animation, HTML Element and Import/Export Style Settings.
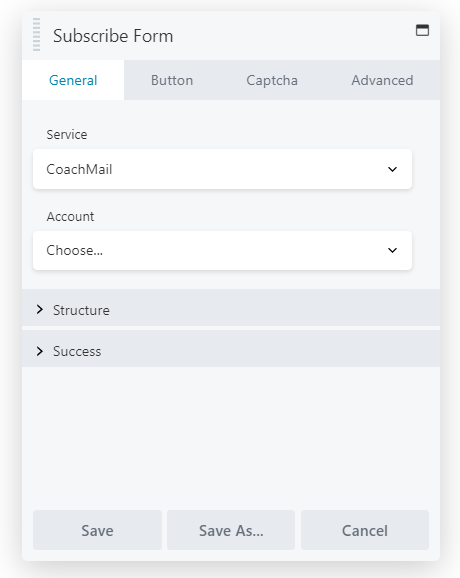
Photo 1
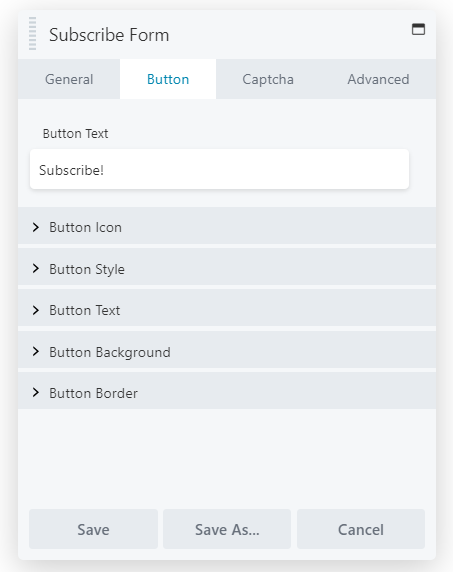
Photo 2
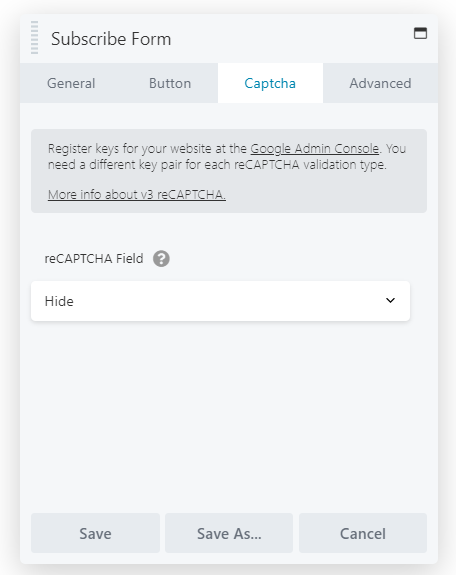
Photo 3
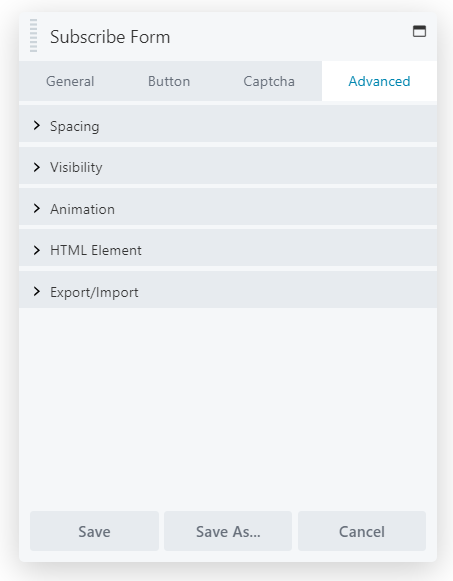
Photo 4
Step 5: After making some changes in the Testimonial Module, click Save to Save the settings that you have set.


Recent Comments