How to Add a Button to a Page
Home – Work with me – Blog – CoachLeads Tutorial – How to Add a Button to a Page
Step 1: In the upper part of your web page, go to Design Studio.

Step 2: Click the blue-colored plus button (+) located at the upper right portion of your Design Studio Page.

Step 3: Move your cursor to the Button.
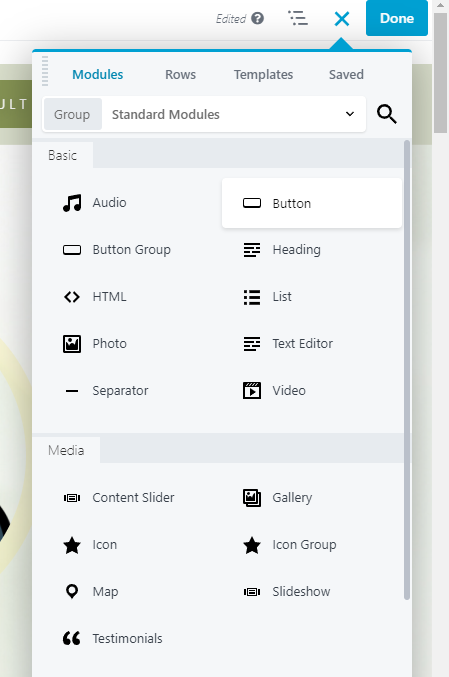 Step 4: In order to place a Button:
- You will need to place the cursor of your mouse to the Button module then long press the right click button of the mouse and move its cursor to drag the Button to the location of the webpage you desire.
- To place the button, simply release the right click button of the mouse.
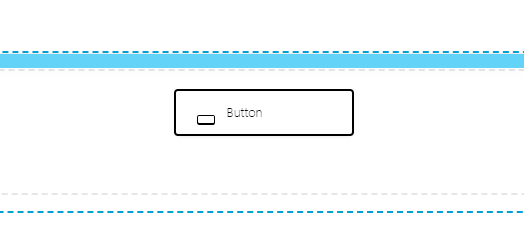
Step 5: After placing the Button in the page, you can now edit its element, design and settings:
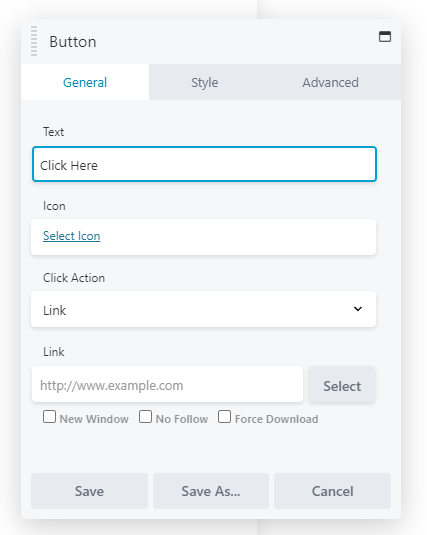
General Tab
Text – Edit the text name of the Button.
Icon – Set an Icon design of the Button.
Click Action – Selecting Link or Light Action.
- Link: Redirects the user to the link that you have set in the button settings when a user clicks the button. It also allows you to set the action to open it in a New Window, No Follow and Force Download
- Light Action: Redirects the user to the HTML Script Code that you have set in the button settings when a user clicks the button.
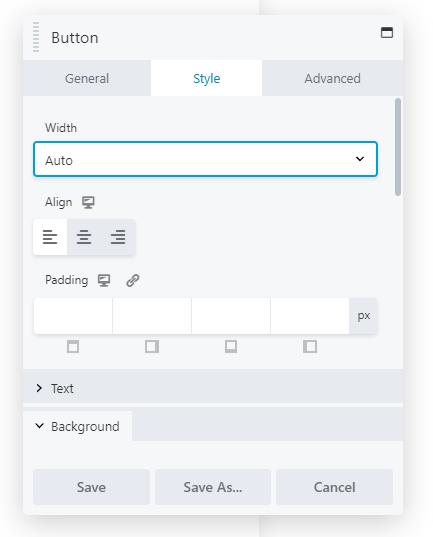
Style Tab
- Text – Allows you to set the buttons text width, alignment, color, hover color and text typography.
- Background – Allows you to edit the buttons background color, hover color, style and animation.
- Border – Allows you to set the buttons border style, color, width, radius, box shadow and border hover color.
Advance
- Set Margin Spacing, Visibility, Animation, HTML Element and Import/Export Style Settings of the button.
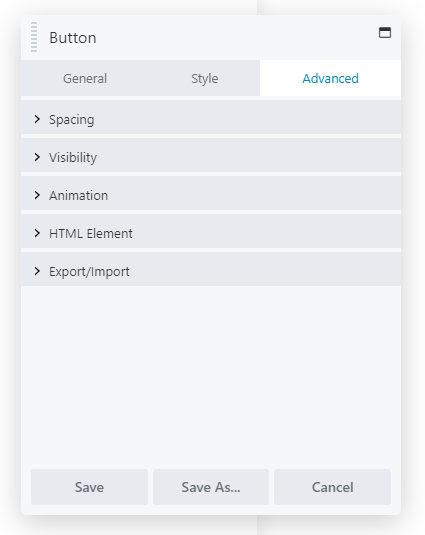
Step 6: After making some changes in the Button, click Save to Save the settings that you have set.


Recent Comments