How to Add a Row in a Page
Home – Work with me – Blog – CoachLeads Tutorial – How to Add a Row in a Page
Step 1: In the upper part of your web page, go to Design Studio.

Step 2: Click the blue-colored plus button (+) located at the upper right portion of your Design Studio Page.

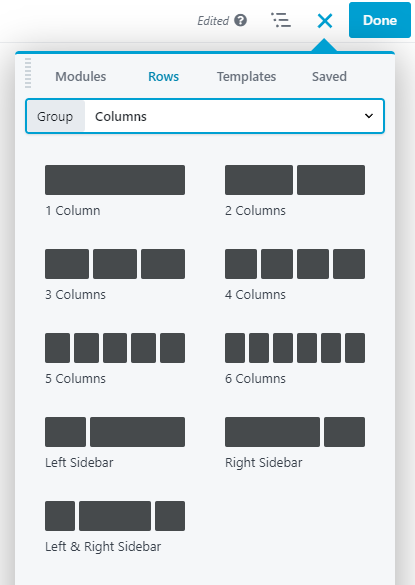
Step 3: Click on the Rows tab and choose Columns from the Group selection.
 Step 4: In order to place a Column:
- Select the type of Column that you want to place in your page. You can select different selection of Multiple Preset Columns and Saved Columns in the Group Column Selection.
- After, you will need to place the cursor of your mouse to the Column that you have selected then long press the right click button of the mouse and move its cursor to drag the selected column to the location of the webpage you desire.
- To place the Column, simply release the right click button of the mouse.

Step 5: After placing the Column in your page,
- You can now add modules and elements to the column that you have place in the page(Text, Buttons, Photos, Videos, etc.).
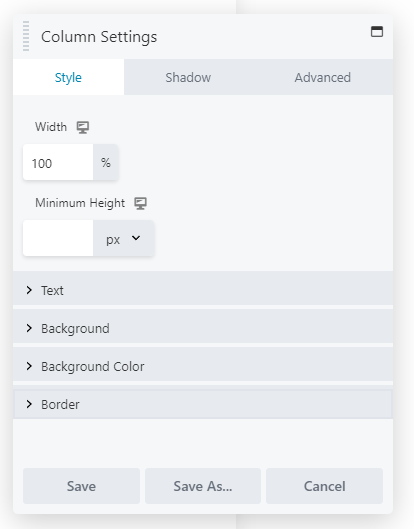
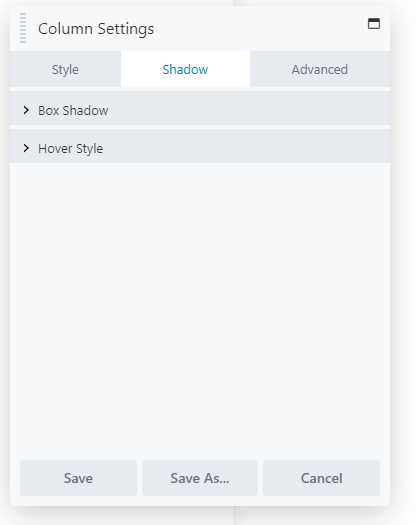
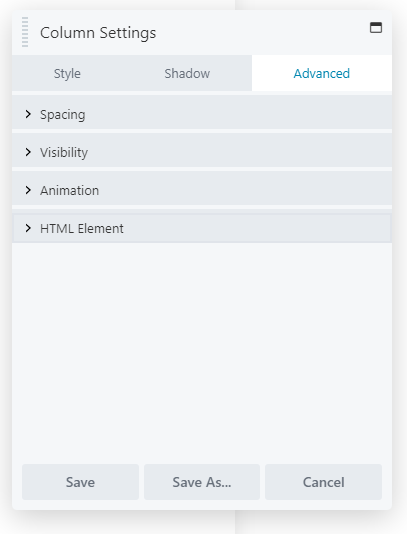
- You can also move, duplicate, edit column settings (Style, Shadow and Advance Settings), reset column width and remove the column that you have created.


Step 6: After making some changes in the Column, click Save to Save the settings that you have set.


Recent Comments