How to Add a Heading in a Page
Home – Work with me – Blog – CoachLeads Tutorial – How to Add a Heading in a Page
Step 1: In the upper part of your web page, go to Design Studio.

Step 2: Click the blue-colored plus button (+) located at the upper right portion of your Design Studio Page.

Step 3: Move your cursor to the Heading Module.
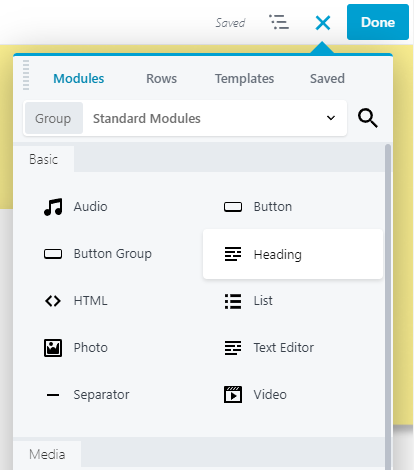 Step 4: In order to place a Heading:
- You will need to long press the right click button of the mouse and move its cursor to the location of the webpage you desire.
- To place the heading, simply release the right click button of the mouse.
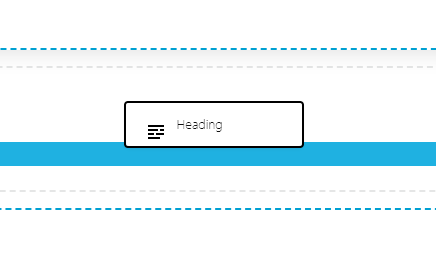
Step 5: After placing the Header in your page, you can now edit its element, design and settings:
General:
- Heading – Name of the Header that you want to set.
- HTML Tag – Refers to the use of defining the heading of the page (There are six levels of headings: H1, H2, H3, H4, H5, H6. These levels depend upon the font size of the header that you have set, H1 is the highest and H6 is the lowest level).
- Link – Redirects the user to the link that you have set in the header settings when a user clicks the header. It also allows you to set the action to open it in a New Window and No Follow
- Style – Set Color to the Text, Font, Style and Spacing and Text Shadow.
- Advance – Set Margin Spacing, Visibility, Animation, HTML Element and Import/Export Style Settings.
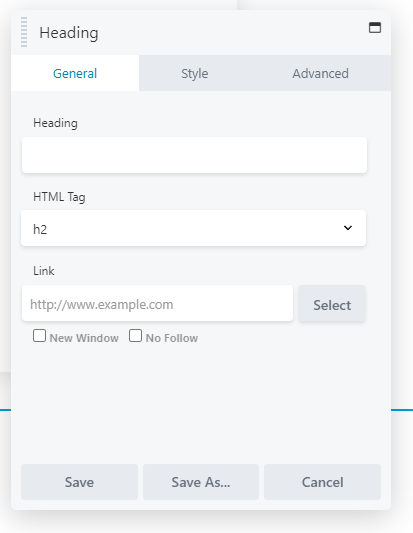
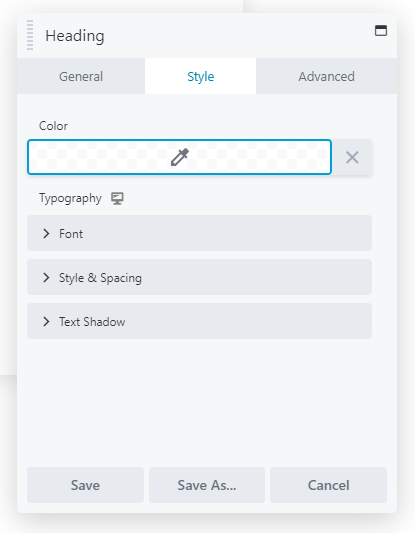
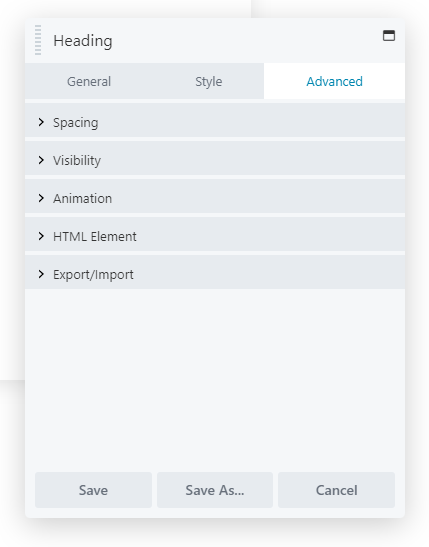
Step 6: After making some changes in the Header, click Save to Save the settings that you have set.


Recent Comments