How to Create a Standard/Automatic Newsletter
Home – Work with me – Blog – CoachLeads Tutorial – How to Create a Standard/Automatic Newsletter
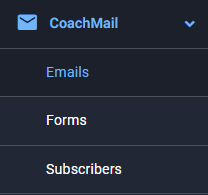
Step 1: To add create a Newsletter from your other Newsletter, navigate to Coachmail in your dashboard and go to Emails.
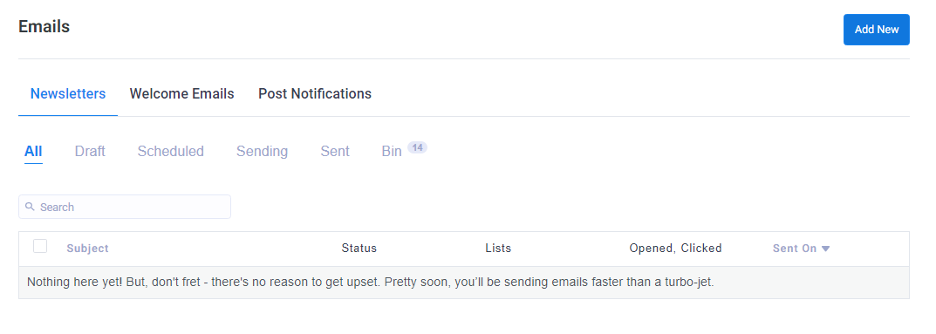
Step 2: To add a Standard/Automatic Newsletter, click Add New
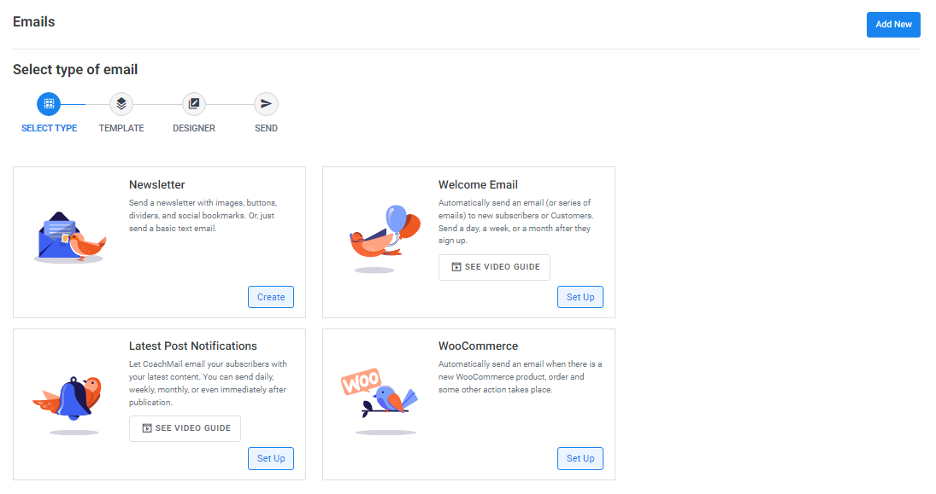
Step 3: Select Newsletter and click Create
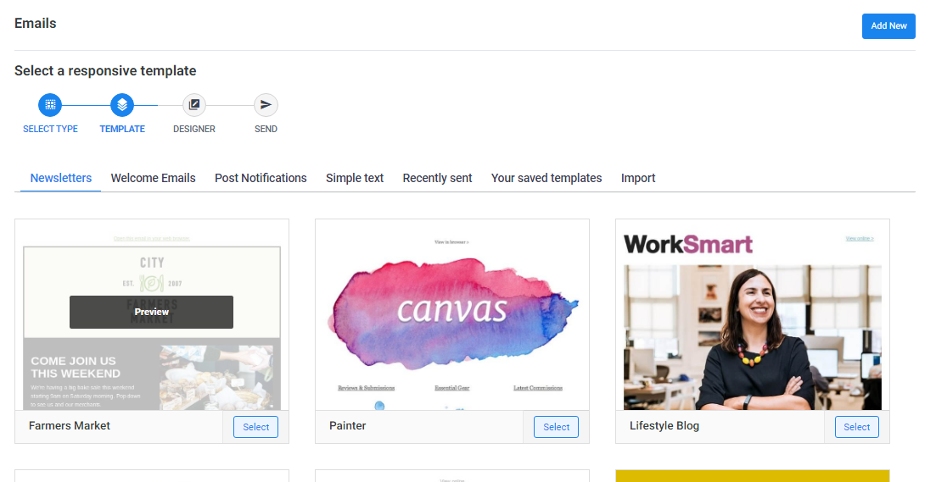
Step 4: Select a custom template that you want to use in your Newsletter, or you can also preview it first before you can select it.
Step 5: After you have selected a custom template for your Newsletter, you will be needing to modify your selected Newsletter fitted to your customers. This will help you share information, promote brand marketing, and build trust with your customers.
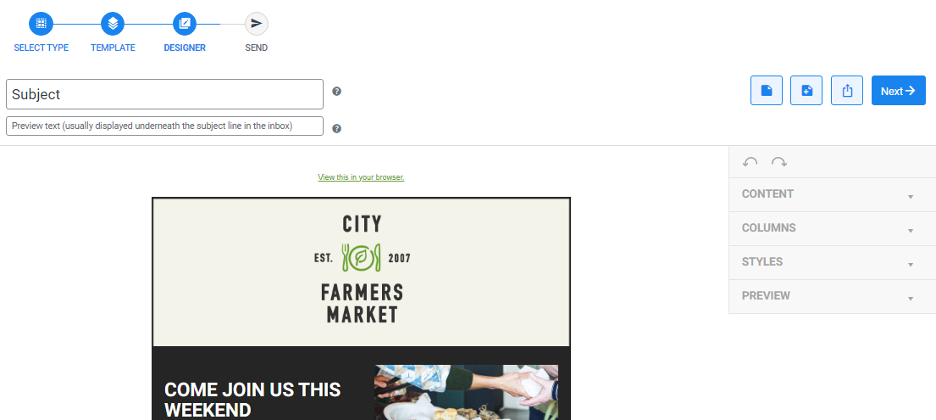
In modifying the selected custom template newsletter, you can change the text, add images, columns and styles in the newsletter having the advanced drag and drop feature in the Designer page.
- Subject – Requires you to enter a subject of the Newsletter (You can add CoachMail shortcodes here. For example, you can add your subscribers’ first names by using this shortcode: [subscriber:firstname | default:reader]. Simply copy and paste the shortcode into the field.)
- Preview Text – Requires you to enter optional text that will appear in your subscribers’ inboxes, beside the subject line. Write something enticing! Max length is 250 characters, however, we recommend 80 characters.
Drag and drop Feature:
- Content – Enables you to add text, images, button, divider, spacer, social media links, posts, automatic latest content, header and footer.
- Columns – Enables you to add up to 3 columns in the newsletter and also divide it as 1:2 and 2:1 ratio proportional.
- Style – Enables you to automatically adjust text and headings fonts, colors and sizes and line heights from the newsletter. Note: If an email client does not support a custom web font, a similar standard font will be used instead.
- Preview – Enables you to preview the selected newsletter via sending it directly to an email software platform by adding an email address where you can preview it in your email account or you can view it via browser.
Other features:
- Save – Enables you to save the newsletter and edit it again in the draft folder.
- Save Template – Enables you to save the created template in order to use it again.
- Export as template – Enables you to export the created template.
- Note: Exported template uses JSON format.
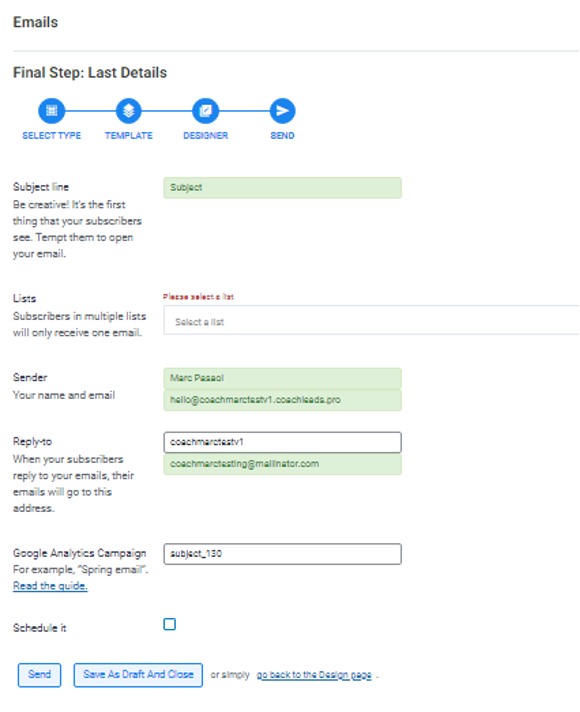
Step 6: Final Steps in editing and sending your newsletter, you will need to add and edit the following:
- Subject Line – Requires you to enter a Subject Line. It’s the first thing that your subscribers see. Tempt them to open your email. Be Creative!
- Selecting a List – Enables you to select an email list from your CoachLeads Subscribers List.
- Sender – Requires you to enter your Name and Email Address(By default we use our CoachLeads Email for this).
- Reply to – Requires you when your subscribers replies to your emails, their emails will go to this address.
- Google Analytics Campaign – Google Analytics is a web analytics service offered by Google that tracks and reports website traffic. It provides statistics and analytical tools for marketing purposes. It can be used for tracking website performance and insights about visitors. For more info: https://blog.hubspot.com/marketing/google-analytics
- Schedule It – Allows you to send the email at the selected time and date you want.
After creating the newsletter, you will either select Send/Schedule it, Save as Draft and Close or simply just go back to the designer page.

Recent Comments